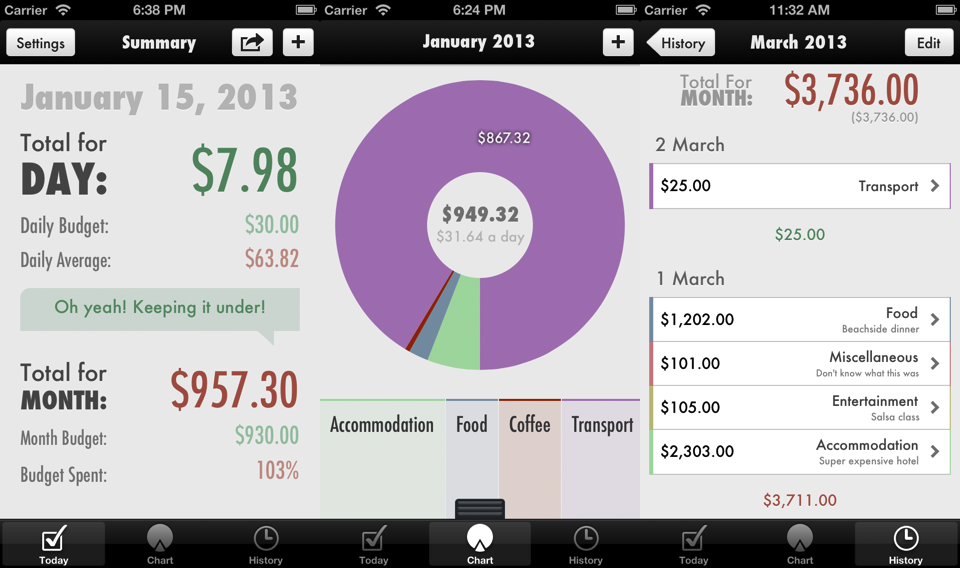
We built Trail Wallet to be fast and easy to use on a day-to-day basis but sometimes you just want to go a little bit deeper.
In this post, we present the lesser-used options and features that you might have missed.
Auto Add For Speed
The top item in the Today -> Settings menu is the Auto Add switch.
Turn this on to have the app pop up the Add New Item screen every time you launch the app, making it faster to get in and out.
Remembers Rates
When you select a Local currency, the app will automatically try to fetch the latest market rate for that currency (provided you're connected to the Internet).
However, if you're about to go somewhere where Internet is spotty or non-existent (like Cuba), it's worth knowing that the app saves the rate for any country you select, even if you then select another one.
So, for Cuba, we selected the Cuban Convertible Pesos while still in Mexico to get the rate, then switched back to Mexican Pesos. Then, when we arrived in Cuba, we switched back to Cuban Convertibles and the rate was there and ready to use.
Keep Your Rate Up To Date
The current rate is stored with each item that you enter and is used for the conversion of that item into your Home currency, so for the most accurate entries it's a good idea to keep the rate up to date.
Simply go to Today -> Settings and hit Update Rate to get the latest market rate for your current Local currency. Any items you enter after the update will use the newest rate, giving you a more accurate representation of how much you're actually spending.
Exporting data
To get a CSV file that can be opened by any spreadsheet application, go to History and make sure that you're on the History by Year view (i.e. the list of years and months) and then tap on the 'Share' icon (which looks like an arrow coming out of a box).
You'll get the Email CSV file options. Tap the "Daily" button to have Trail Wallet email you all of your transactions broken down by day.
Note: You'll need to have email set up on your iOS device for this to work
At the moment it exports all of your data but in the future we'll be looking to give you more fine tuned control of the data that it exports.
Creating Your Own Categories
Go to Today -> Settings -> Categories to edit your categories.
Tap Edit to delete or reorder categories. The order affects how the categories are listed when you select a category on the Add Item screen.
Tap a category to edit that category's name and colour. The category colour is used throughout the app, such as on the Chart and History screens, to give you a quick visual reference for that category.
Editing Entries
If you make a mistake when entering an item, you can edit that item by going to the History tab, tapping the month where that item was entered, and then tapping on that item to bring up the Edit Item screen.
Any changes you make are instantly reflected in the History and Chart screens.
The Future
We're still working hard on improving this app and we read all of your feedback and comments.
If you have an idea for a feature or improvement, or would like to report a bug, please contact us and let us know.

